Grow Guides · Plant Support & Training

How to Tie Plants Without Damage

November 6, 2026· 6 min read· 0 comments

A good tie holds a stem where you want it and leaves the stem free to grow. Reading the marks a tie leaves lets you adjust before a stem is harmed.

Stems thicken through the season, so a tie that fits in spring can bite by midsummer. Where the mark appears and how the plant leans tells you what to change.

Quick answer
Tie plants loosely, with a soft material and a figure-eight loop that keeps the stem off the stake. Leave room for the stem to thicken, place each tie below a leaf stem or fruit cluster, and check ties every few weeks. A tie that leaves a pinched ring, a leaning plant, or a rubbed patch needs loosening, moving, or replacing.
How to Tie Plants Without Damage
The figure-eight loop

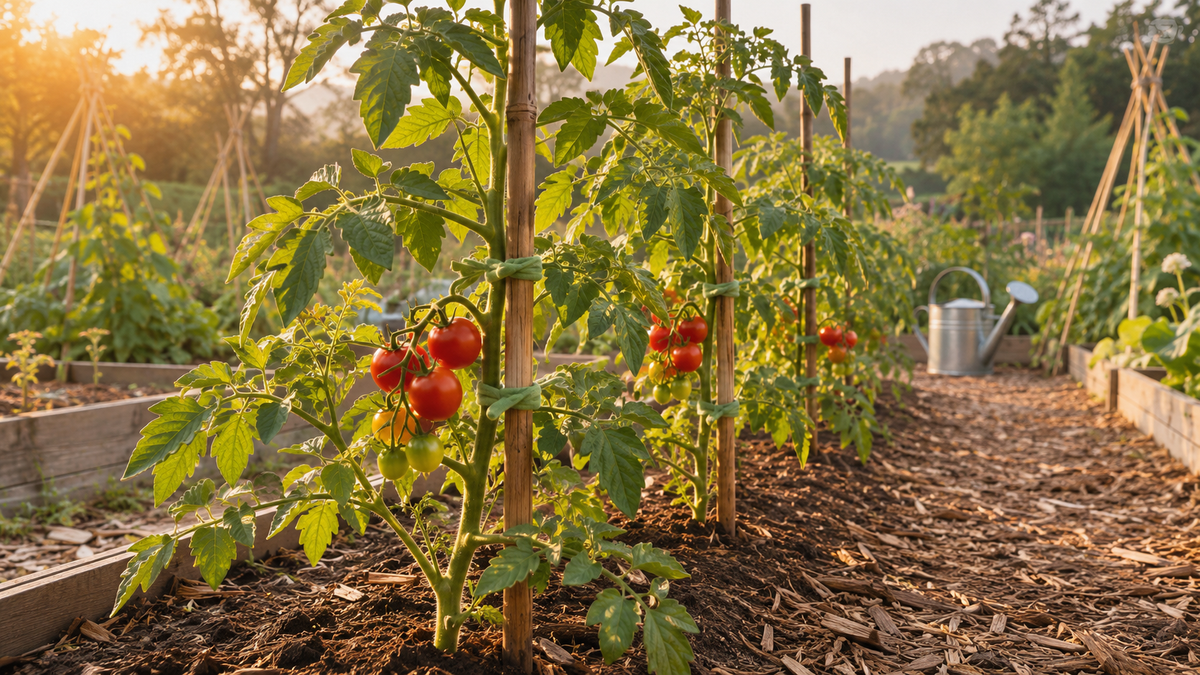
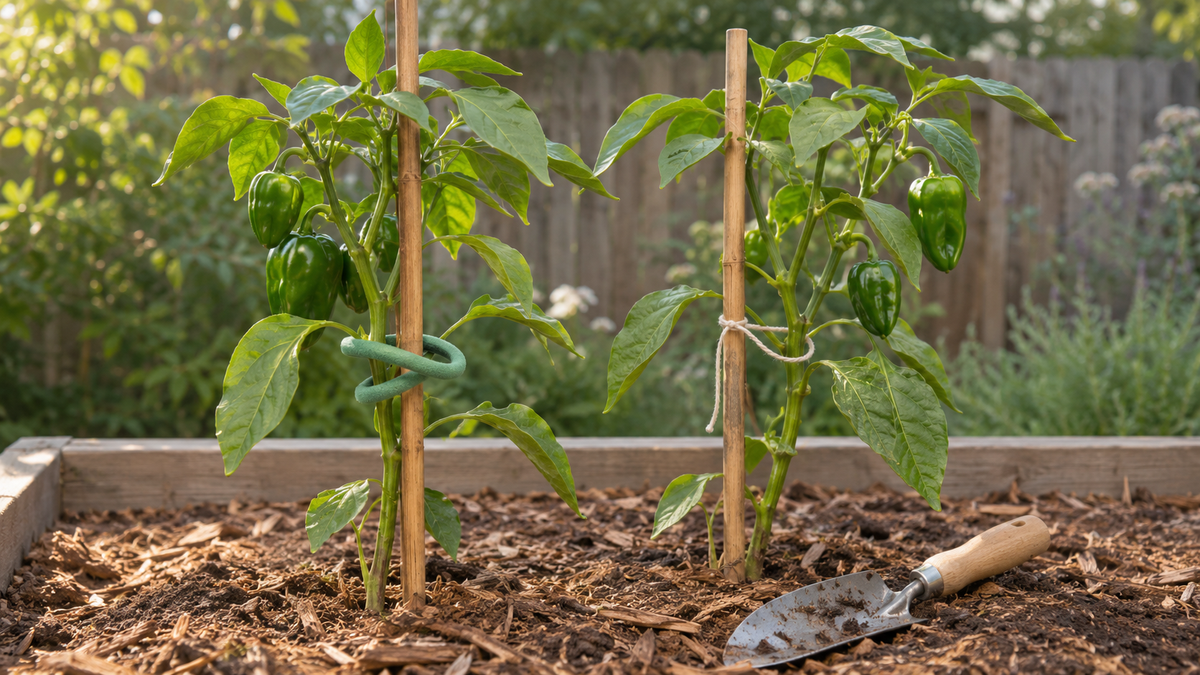
Cross the tie between the stem and the support so the two never touch. The crossing works as a cushion, and the loop leaves the stem room to move in the wind.

Recheck as stems thicken

A tie that fits a thin stem in spring may press into the same stem in summer. A quick look every few weeks catches this before it leaves a mark.

Two kinds of tie

A soft tie gives. A thin one cuts.

The material decides how kindly a tie holds a stem as it grows.
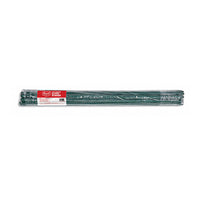
Soft foam-coated tie
Thin string or bare wire
Contact with the stem
A soft foam coating over a flexible wire core, made to hold a stem without cutting into it.
A narrow edge that can press into the stem as it thickens.
Adjusting it
Bends and twists easily, so you can loosen or reposition it in seconds.
Often has to be cut and replaced when it gets tight.
Reuse
Reusable across seasons, so one length serves many plants.
Usually discarded once cut.
Watch for
A twist pulled too snug, which can still pinch a thin stem.
A tie left on after the stem has grown past it.
Symptom checker

I see this where my plant is tied.

Look at where the mark sits on the stem, then follow the change listed beside the closest match.

Symptom
Likely cause
Quick fix
Severity
A pinched ring or groove around the stem
The tie is tight, and the stem has thickened against it. A ring that is deep can slow water and nutrients moving up the stem.
Loosen or remove the tie right away, and replace it with a soft tie that leaves a little slack.
High
The stem is bent or snapped at the tie
The tie is holding a single point rigidly while the rest of the stem moves in wind, so the stem flexes at that one spot.
Use a loose figure-eight and add a second tie lower down so the load spreads across the stem.
High
The tie has slid down the stake
Ties can slip on a smooth stake, especially when the plant is heavy with fruit or leaves.
Retie higher and use a stake with raised spurs, or tie around a leaf node so the tie has something to rest on.
Medium
A rubbed or scarred patch on the stem
The stem is touching the stake directly and chafing in the wind, which can wear the surface.
Retie with a figure-eight crossing between the stem and the stake, and use a soft tie.
Medium
The plant leans even though it is tied
The tie is too loose or too low, so the upper part of the plant has nothing holding it.
Add a tie higher up, just under a leaf stem or fruit cluster, and check the stake is still firm in the soil.
Medium
Last season's ties are still on the plant or stake
Old ties can stay on as stems grow and may press into new growth.
Remove old ties at the end of the season, and start fresh with new ties at planting time.
Low
Why ties cause damage

Tying habits that mark a stem.

The damage from these shows on the stem itself.

Common beginner mistakes
No.
Mistake
What goes wrong
The fix
Severity
01
Tying snug on a young stem
✕Pulling the tie close around a thin stem that will thicken, so it presses in by midseason.
✓Leave room for the stem to grow, and recheck every few weeks.
Most common
02
Using thin string or bare wire
✕Choosing a narrow material that has a hard edge, which can press into the stem as it grows.
✓Use a soft tie that gives as the stem thickens.
Common
03
Tying the stem directly against the stake
✕Binding the stem tight to the stake with no gap, which lets the stem chafe when wind moves it.
✓Use a figure-eight loop that keeps stem and stake apart.
Underrated
Key takeaways

Tie rules to remember.

  1. 01Tie loosely so the stem has room to thicken through the season.
  2. 02A figure-eight loop keeps the stem off the stake and cushions it in wind.
  3. 03Soft foam-coated ties give as the stem grows, and thin string can cut in.
  4. 04Place ties just below a leaf stem or fruit cluster so the weight rests on the support.
  5. 05Check ties every few weeks and remove old ones at the end of the season.
Discussion

Questions or notes? Drop them here.

A real grower replies within a business day.

No comments yet. Be the first.

FAQ

Common questions about tying plants.

Snug enough to hold the stem near the support, and loose enough that you can slide a finger between the tie and the stem. The stem will thicken, so leave it room.
A loop that crosses between the stem and the support, forming an eight. The crossing keeps the stem off the stake and lets it move a little in wind.
A soft one that gives as the stem thickens. A foam-coated wire is easy to bend, twist, and cut to length, and it can be reused across seasons.
Every few weeks during growth, and after storms or strong wind. Loosen any tie that has begun to press into the stem.
Just under a leaf stem or fruit cluster, so the weight rests on the tie and not on a thin section of stem.
The promise

Grow better. Eat better. Every day.

Your partner in every harvest. Slide a finger between the tie and the stem on your plants today, and loosen any that feel snug.

Posted November 6, 2026 · Updated November 6, 2026 · 6 min read