
Labeling Your Garden: What to Write and What Lasts
A label turns a tray of look-alike seedlings into a plan you can follow all season. It helps to know what to write down and which label style suits a tray, a pot, or a stem.
Seedlings of different varieties often look the same until they flower or fruit. A short note written on day one saves you from guessing in midsummer.

Seed starts and cuttings are easy to mix up within an hour. Many growers write the label as they sow, while the packet is still in hand.
Some pens fade in sun and wash off in water. Pencil and outdoor-rated markers are common choices, and a quick test on a spare label will show how yours holds up.
A stake in the soil, or a wrap on the plant.
Where the plant lives and how it grows point to the better style.
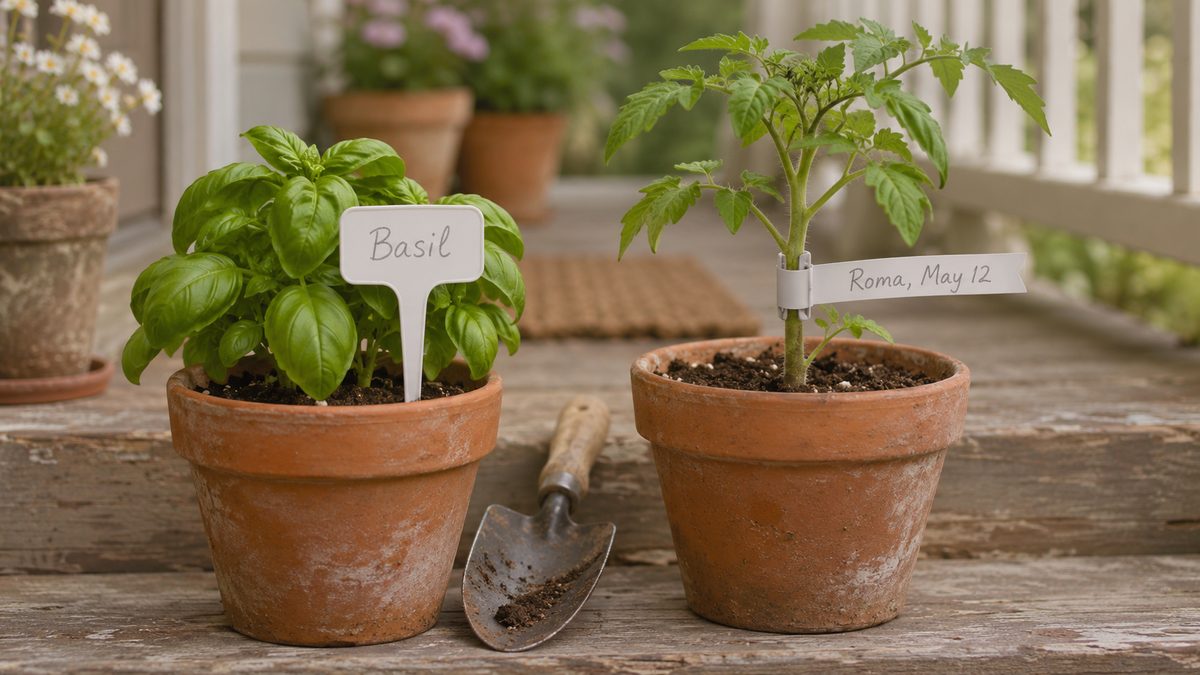
From seed tray to harvest.
A label only helps if it is still there and readable in August.
Pick what to record
Start with the plant name, the variety, and the sow or plant date. Add the source or a note, such as where you planted it, only if you will use it.
Match the label to the plant
Use stake labels for trays, pots, and containers, and wrap labels for stems and branches. Many growers keep both on hand for mixed gardens.
Write it clearly and early
Print in short, plain words on a dry label. Use a pencil or an outdoor-rated marker, and write the label as you sow or plant, while the seed packet is still in hand.
Attach it where you can read it
Push a stake label in beside the plant at a slight angle so it faces the path. Close a wrap label around the stem or branch with room to grow.
Keep a simple backup
Sketch the bed or take a photo of the tray with the labels showing. If a label is lost or pulled out, you still have a record of what went where.
Recheck and replace through the season
Walk the garden every few weeks, rewrite any label that has gone faint, and loosen wraps on growing stems. Replace labels at transplant time.
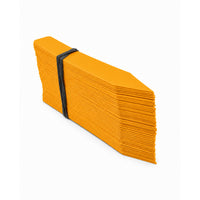
A bundle of 100 plant stake labels, 4 in by 5/8 in, for marking clones, seedlings, seed starts, and varieties. The compact size fits in propagation trays, pots, and containers.
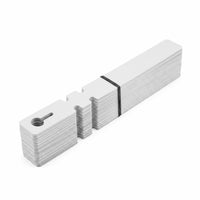
A bundle of 100 wrap-around labels, 9 in by 3/4 in, with a self-locking push-through design that attaches around plant stems or branches. There is room for plant names, varieties, and dates.
Labeling habits that leave you guessing.
A few seconds at planting time heads off all of them.


What to put on every label.
- 01Write the plant name, the variety, and the sow or plant date.
- 02Use stake labels for trays and pots, and wrap labels for stems and branches.
- 03Write labels as you sow or plant, before you leave the tray.
- 04Choose pencil or an outdoor-rated marker, and test how it holds up.
- 05Keep a map or photo as a backup in case a label is lost.
Questions or notes? Drop them here.
A real grower replies within a business day.
No comments yet. Be the first.