Beginner Gardening Setup (Step-by-Step)
A new garden mostly comes together over its first weekend, and getting that weekend right is most of the work. What to buy, in what order, and what to do with it once it is home, all of it fits into a single afternoon for most home growers, with plants in the ground by Sunday evening.
Three setup tiers, a checklist for each, and the first-week routine that gets the rhythm right from day one.

Skip seed starting in the first season. Pick up healthy seedlings at a nursery and transplant directly. You will learn the watering rhythm with established plants instead of stressing about germination at the same time.
Spending a month researching the ideal gear is the most common reason gardens never start. Buy the smallest viable kit and learn from one season of actually growing.
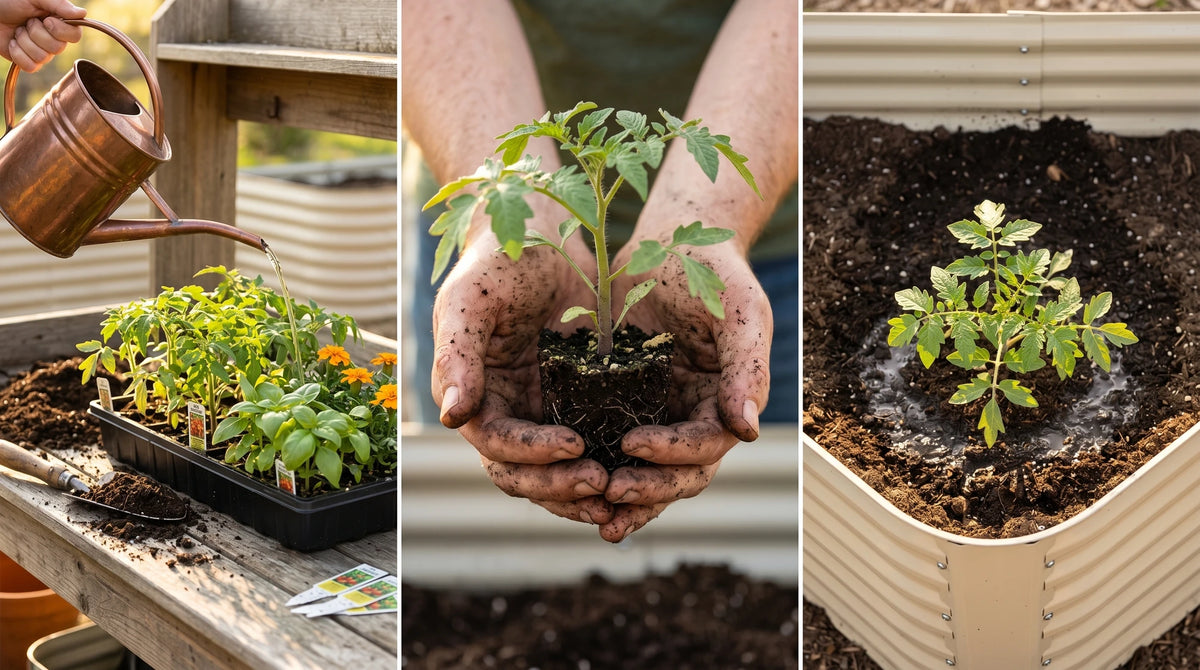
A weekend, in five steps.
Each step takes roughly an hour. Friday evening shopping; Saturday setup; Sunday planting and watering.
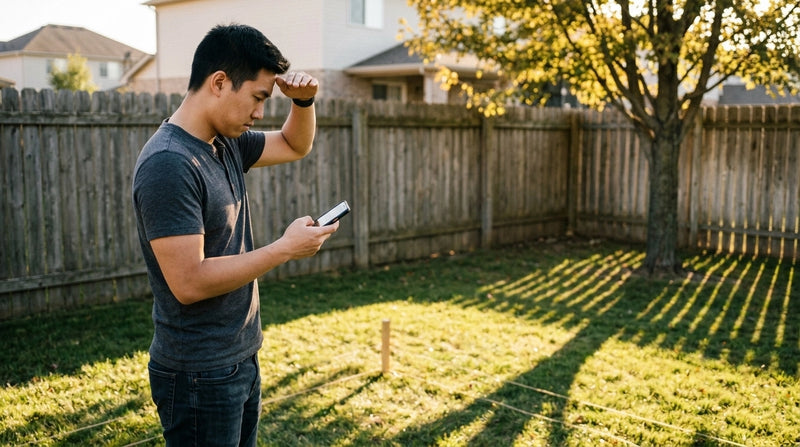
Pick the spot
Walk the home or yard. Find the brightest spot you already pass every day. Note how many hours of direct sun it gets. Six or more opens up everything; four or five limits you to leafy greens and herbs.
Shop media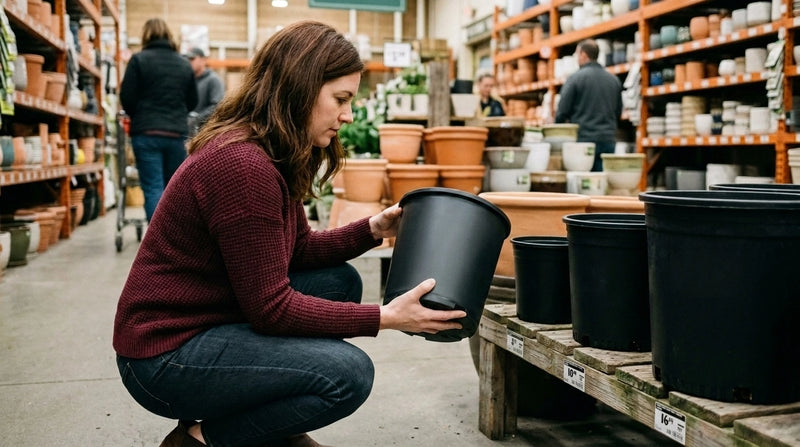
Buy the containers
Match the pot to the crop. Herbs in 8 to 10 inches. Leafy greens in 10 to 12 inches. Fruiting crops in 14 to 18 inches. Every container needs real drainage holes and a saucer if it lives indoors.
Shop pots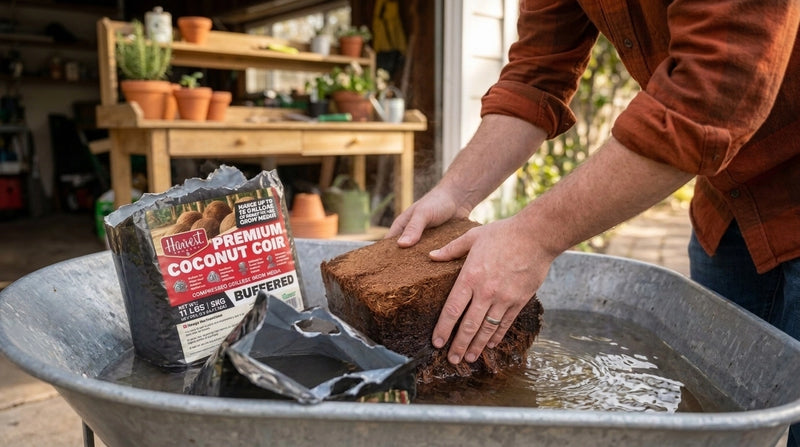
Get the medium
Pick up a 5kg buffered coir brick. Rehydrate by soaking in a wheelbarrow or 5-gallon bucket with 15 to 20 liters of warm water for 30 minutes. Break up the brick and fluff. The brick expands into about 75 liters of usable medium.
Shop coir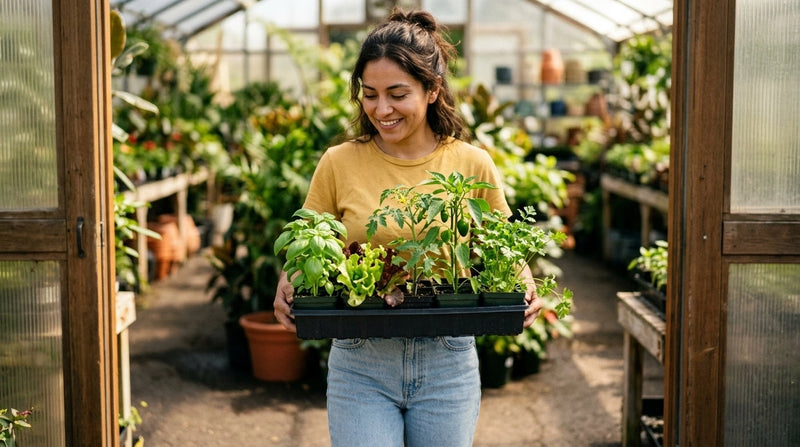
Pick up the plants
Visit a nursery and pick three to five healthy seedlings. Look for green, sturdy plants without yellowing leaves. Basil, lettuce, cherry tomatoes, peppers, and herbs are the easiest first picks. Plant the same day if possible.
Browse seeds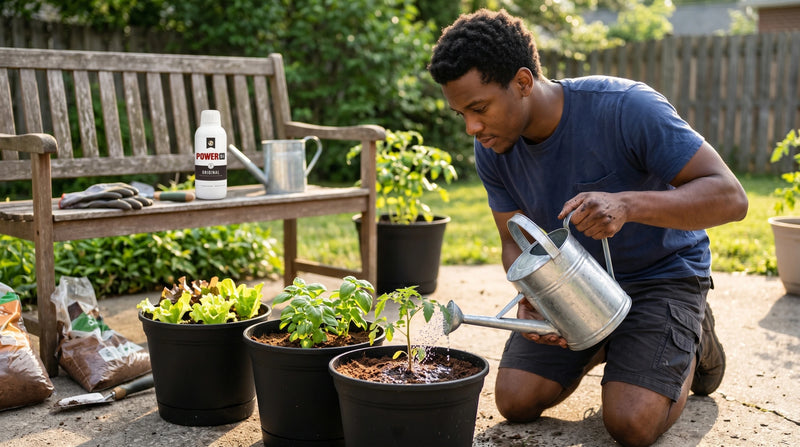
Plant and water in
Fill containers to within an inch of the rim. Transplant each seedling at its original depth. Water in well so the medium settles around the roots. Place the containers in their final spot. The first week sets the rhythm: check moisture daily, water when the top inch dries.
Shop feedPick the kit that matches your space.
Each tier is a complete starting point. Build up from one tier to the next over a season or two.
The minimum viable garden. Perfect for first-time growers testing the habit before committing more.
- One 10-inch container with drainage
- Half a coir brick (rehydrated)
- Two herb seedlings (basil + parsley)
- Liquid feed concentrate
- A saucer
A productive container garden. Enough for serious weekly harvests from a small outdoor space.
- Five 12 to 16-inch containers
- One full 5kg coir brick
- Five seedlings (tomato, pepper, basil, lettuce, mint)
- Liquid feed
- Drip trays for floor protection
The full backyard setup. A 4x4 bed, soil, and starter plants for a household-scale garden.
- 4x4 raised bed kit
- 3 bags quality garden soil
- 3 bags compost
- 1 coir brick for amendments
- 6–8 seedlings
- Mulch for the top layer
Four traps that delay the first harvest.

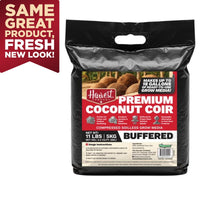
Triple-washed, low EC, ready to rehydrate. One brick is enough for a starter setup or a small bed. The right foundation for any first-time garden.
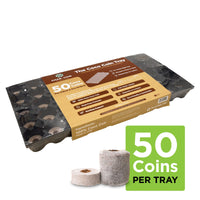
Pre-filled 50-cell tray of coir plugs. The fastest path from "I want to garden" to "I have seedlings on the counter."
Six things to remember.
- 01A weekend is enough to set up a real garden. Friday: shop. Saturday: assemble. Sunday: plant.
- 02Start with seedlings, not seeds. Year one is about rhythm, not propagation.
- 03Match the pot to the crop. The wrong size is the most common starter mistake.
- 04Buffered coconut coir is the most forgiving starter medium. One brick covers most setups.
- 05Water in with plain water at planting. Save feeding for week two or three.
- 06Three to five containers is plenty for the first season. Add later if needed.
Questions or notes? Drop them here.
A real grower replies within a business day.
No comments yet. Be the first.