How to Use Coco Coir for Growing
Coco coir is straightforward once you have done it once. The brick comes home compressed, you add water, it expands into something soft and useful, and you plant. There are a couple of small things worth knowing first, and once you have them the rest is easy.
Rehydrating the brick, mixing in amendments if you want them, planting into containers, and a steady light feed are all it takes to keep coir productive through the season.

Cool water still works, but warm water (around 75 to 85 °F / 24 to 30 °C) cuts the rehydration time roughly in half and gives a more even, fluffy result.
Coir holds water generously. Without drainage, the bottom of the container goes anaerobic in days. Every container that holds coir should have real drainage.
From compressed brick to growing plants.
The whole sequence takes about an hour, most of which is waiting for the brick to expand.
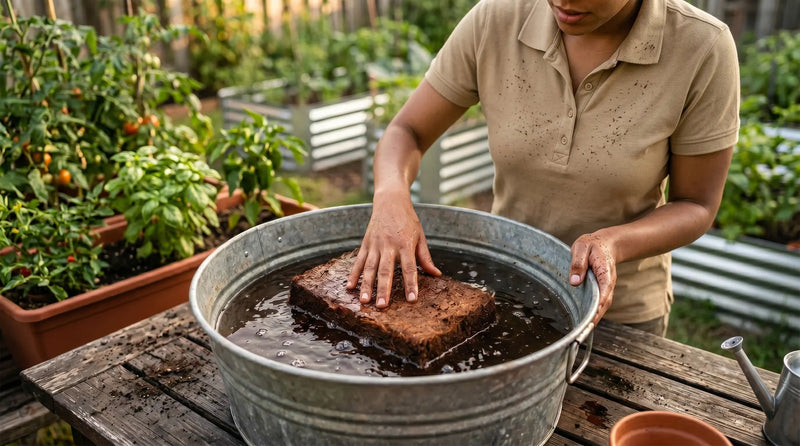
Rehydrate the brick
Put the brick in a wheelbarrow, large tote, or clean five-gallon bucket. Add 15 to 20 liters of warm water for a 5 kg brick. Wait 30 minutes. The brick will visibly swell and start breaking apart at the edges.
Shop media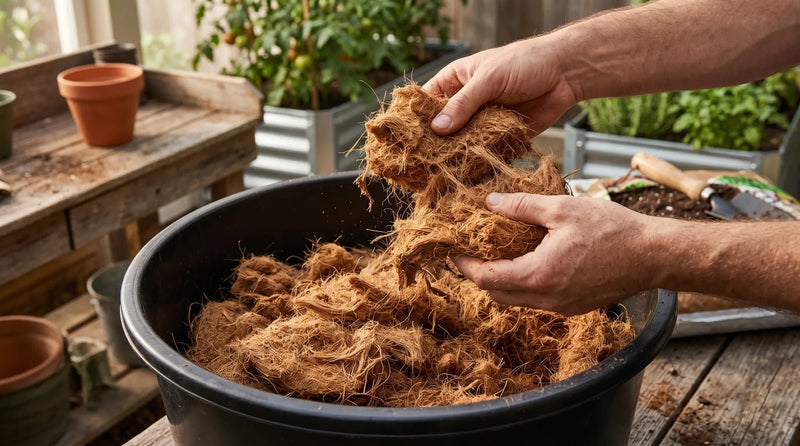
Break up and fluff
Use a hand fork, garden trowel, or just your hands to break the rehydrated brick into a uniform, fluffy texture. There should be no compressed cores left. Aim for the consistency of damp coffee grounds with longer fibers mixed in.
Shop tools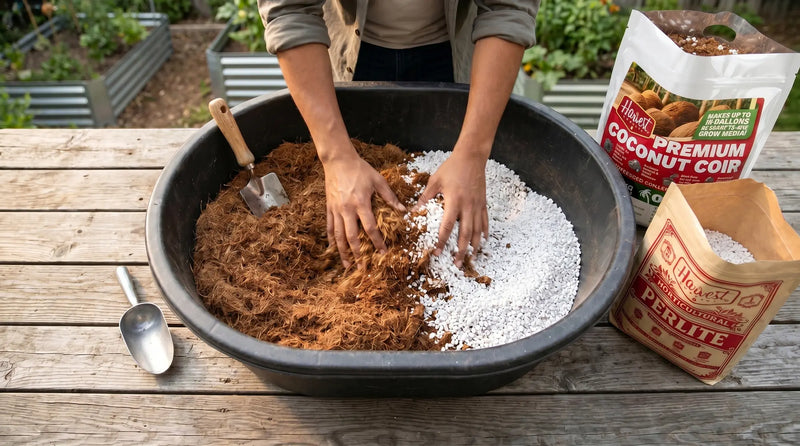
Mix amendments (optional)
For fruiting crops or heavier feeders, blend in 20 percent perlite by volume for extra drainage. For seed starting, blend in 10 to 20 percent vermiculite for surface moisture retention. For most leafy greens and herbs, plain coir is enough.
Shop amendments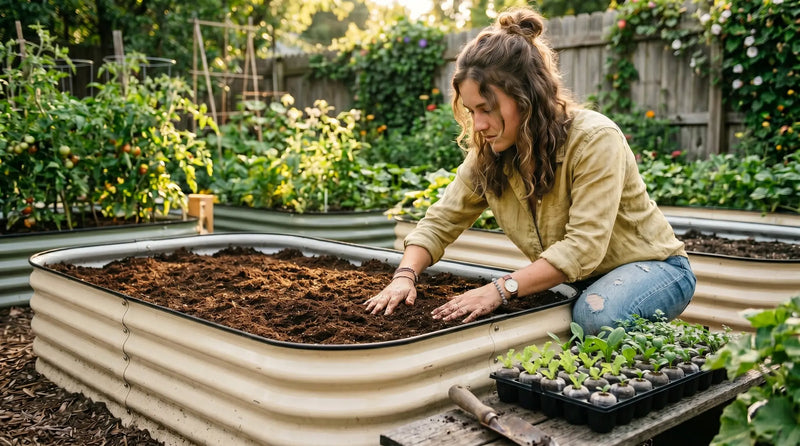
Fill and plant
Fill containers to about an inch below the rim, leaving room for a top-up later. Plant or transplant directly into the coir at the same depth as before. Water in well after planting so the medium settles around the roots.
Shop containersWater and feed on a rhythm
Water when the top inch dries. Once seedlings are established (around week three), add a light liquid feed at half the labeled strength. Coir holds nothing nutritious on its own, so feed water becomes the program.
Shop feedFour things that trip up first-time coir users.
None of these are catastrophes. Catching them early saves a season.

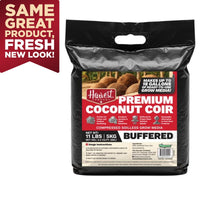
Triple-washed, low EC, ready to rehydrate. One brick fills several large containers or a small raised bed.
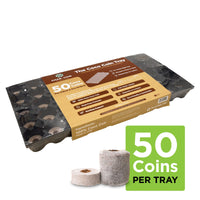
Skip the rehydration step entirely. Pre-filled coir plugs in a 50-cell tray, ready to plant.
A compressed brick on a shelf becomes a season of harvests with thirty minutes and a bucket of warm water.
Five things to remember.
- 01Soak a 5 kg brick in 15 to 20 liters of warm water for 30 minutes. Break it up until uniform.
- 02For most edible crops, plain coir is enough. For fruiting crops, blend in 20 percent perlite.
- 03Use containers with drainage. Coir holds water generously and an undrained pot suffocates roots.
- 04Coir feeds nothing on its own. Add a light liquid feed at half-strength from week three onward.
- 05Refresh or replace medium every two to three growing cycles to prevent compaction.
Questions or notes? Drop them here.
A real grower replies within a business day.
No comments yet. Be the first.