
Freezing Vegetables from the Garden
Freezing is the most forgiving way to keep a garden harvest, and a short routine at the kitchen counter is enough to hold color, texture, and flavor for the months ahead. The Harvest Company sees it as the bridge between one season and the next, and a few careful steps make it work well.
Reliable freezing comes down to three things: blanching most vegetables before they go in, cooling and drying them fully, and packing and labeling each bag so you can find it later.

Blanching too briefly leaves vegetables with more of the enzymes that dull flavor and texture in the freezer, and blanching too long starts to cook them. A timer and a trusted chart keep it right.
A freezer held at 0°F keeps vegetables in good condition far longer than a warmer one does. An inexpensive freezer thermometer is an easy way to confirm what the dial says.
Most vegetables want a quick blanch.
A few crops can skip it. Match the vegetable to the column that fits.

From the garden basket to the freezer.
Six steps, in order. Each one protects the quality of the vegetables you grew.
Wash, trim, and cut to a similar size
Use produce picked at its peak and freeze it soon after the harvest. Wash it, trim any bruised parts, and cut the pieces to a similar size so each one blanches and freezes at the same rate.
Blanch in boiling water for the right time
Lower the vegetables into a large pot of boiling water for a short time, usually between one and five minutes depending on the crop and the size of the pieces. A trusted chart from your local extension service gives the exact time.
Cool at once in ice water
Move the vegetables straight into a bowl of ice water for about the same length of time they were blanched. Cooling quickly stops the cooking and keeps the color bright and the texture firm.
Drain and dry thoroughly
Drain the vegetables well and pat them dry with a clean towel. Surface water turns into ice crystals in the freezer and can make the pieces clump, so a good drying pays off at the end.
Freeze loose, then pack with the air out
Spread the vegetables in a single layer on a tray and freeze them until firm, then move them into bags so you can pour out only what you need. Press out the air, or vacuum seal the bag, before closing it.
Label every bag and keep the freezer at 0°F
Write the vegetable and the date on each bag, and lay the bags flat so they freeze quickly and stack neatly. Keep the freezer at 0°F so the quality holds from the first bag to the last.
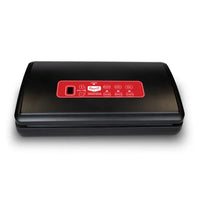
A 230 W countertop sealer with adjustable seal time, a pulse function for delicate items, and a built-in roll holder with a cutter. It seals bags up to 11 inches wide.

A single 5.5 mil roll made from BPA-free, FDA-compliant material. Cut it to the length you need for each portion of beans, peppers, or greens, and seal it with a compatible sealer.
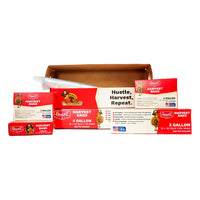
An 18 x 20 in, 3-gallon bag made from 100 percent nylon that is FDA-compliant and BPA-free. It is freezer and oven safe from -100°F to 400°F, tear-resistant, and helps contain odors.
Three habits behind dull or clumped vegetables.
Each one is a small change at the counter, not new gear.

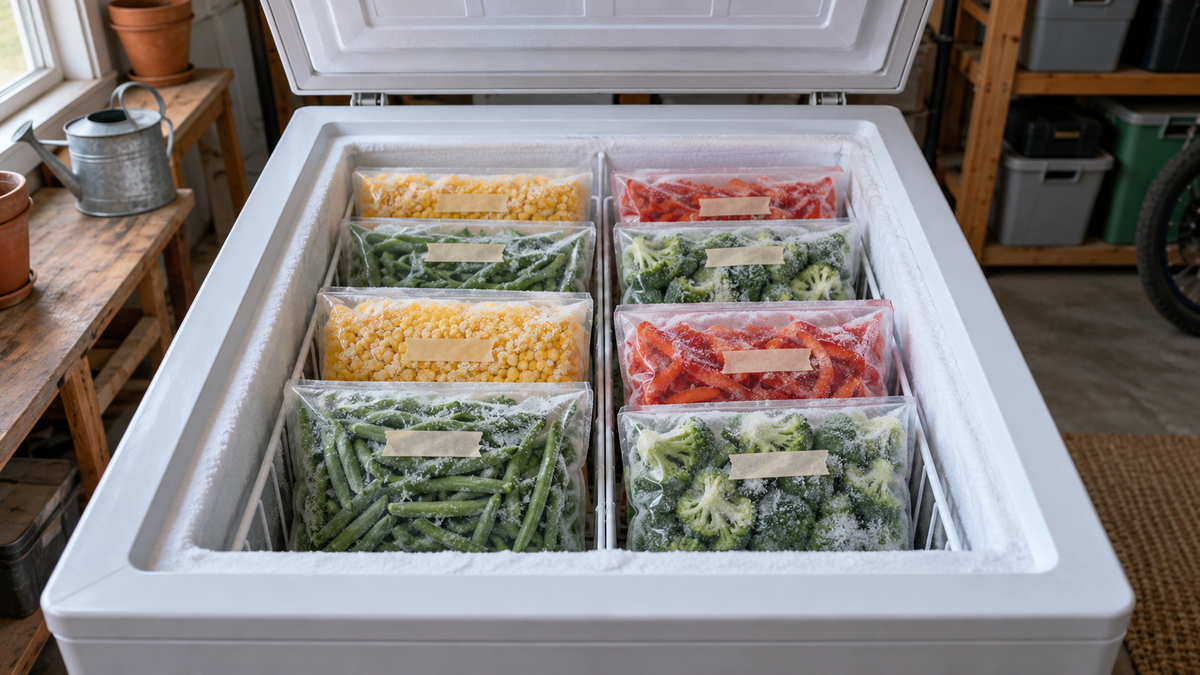
Five things to remember.
- 01Blanch most vegetables briefly in boiling water, then cool them in ice water right away.
- 02Drain and dry the vegetables thoroughly before packing, since surface water becomes ice crystals.
- 03Freeze pieces loose on a tray first so they stay separate and easy to portion.
- 04Press out the air, or vacuum seal the bag, and label each one with the contents and date.
- 05Keep the freezer at 0°F and lay bags flat so they freeze fast and stack well.
Questions or notes? Drop them here.
A real grower replies within a business day.
No comments yet. Be the first.