
Light and Humidity for Cuttings
A cutting has leaves but no roots, so its survival depends on the air and light around it more than on the soil beneath it. Soft light and calm, humid air are the goal until the first roots appear.
Too much light dries a rootless stem and too little humidity wilts it. A dome and a gentle light, adjusted over a couple of weeks, cover both.

A cutting needs enough light to keep its leaves working, but direct sun through glass can overheat a closed dome. Bright, indirect light or a gentle grow light is the safer choice.
A sealed, stagnant dome invites mold. Vent it briefly each day so fresh air can move through, and wipe off heavy condensation when you see it.
Before roots, hold moisture. After roots, let it go.
The right setting changes as the cutting changes, so plan to adjust it every few days.
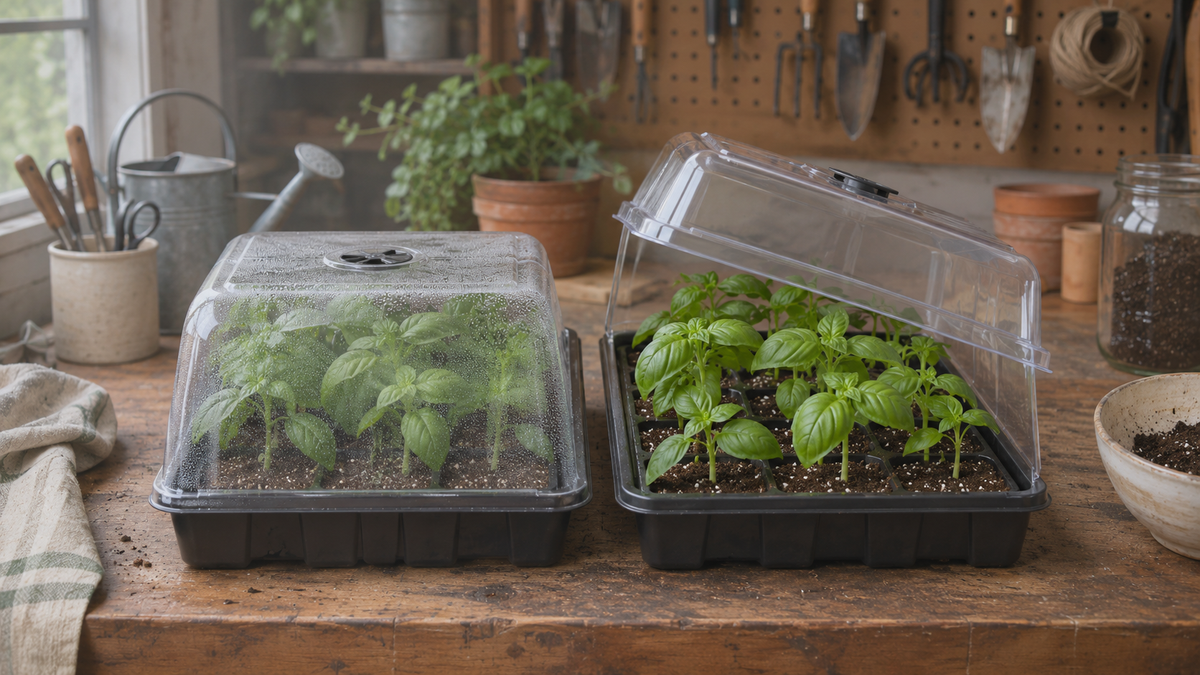
From closed dome to open air.
Small changes over several days work better than one big change.
Set cuttings in an evenly damp tray
Plant the cuttings in damp plugs or cells so every one starts with the same moisture, and group them by type so they share conditions.
Choose a dome with room above the leaves
Pick a dome tall enough that leaves do not press against the plastic. Leaves that touch wet plastic can rot, so leave a little space around the foliage.
Add a gentle, even light
Place a low-intensity light above the dome so every cutting gets the same share. Many growers run it for around 16 to 18 hours a day, though your plant's needs may differ.
Check the condensation daily
A film of moisture inside the dome means the air is humid. If the dome is dry, mist the leaves lightly. If water pools, open the vents a little.
Vent a little more each day
Once cuttings resist a gentle tug, open the vents wider each day over about a week, which teaches the leaves to cope with drier air.
Remove the dome and pot on
When the cuttings stand without wilting, take the dome off and move them into small pots with a light potting mix, then grow them on in brighter light.
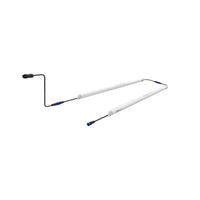
A 2-bar clone light for seed starting and cuttings, with 18W per strip and OSRAM LM-80 LEDs rated at about 41.4 μmol/s PPF. Its IP65 rating suits indoor growing, and up to 8 pairs can be daisy chained on a single power cord.
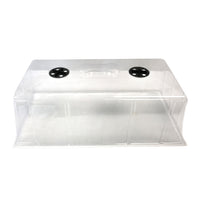
A tall, clear propagation dome that fits standard 10 in. by 20 in. propagation trays. The 7 in. height gives extra room for larger cuttings, and the adjustable vents let you control humidity and temperature.
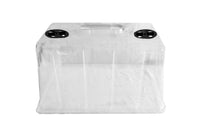
A clear, tall dome made for the VCLN24 clone machine, in BPA-free HDPE and measuring 14 in. by 10 in. by 8 in. The clear build lets you check on cuttings without disturbing the humidity inside.
Ways the air around a cutting goes wrong.
The air around the cutting is where these go wrong.

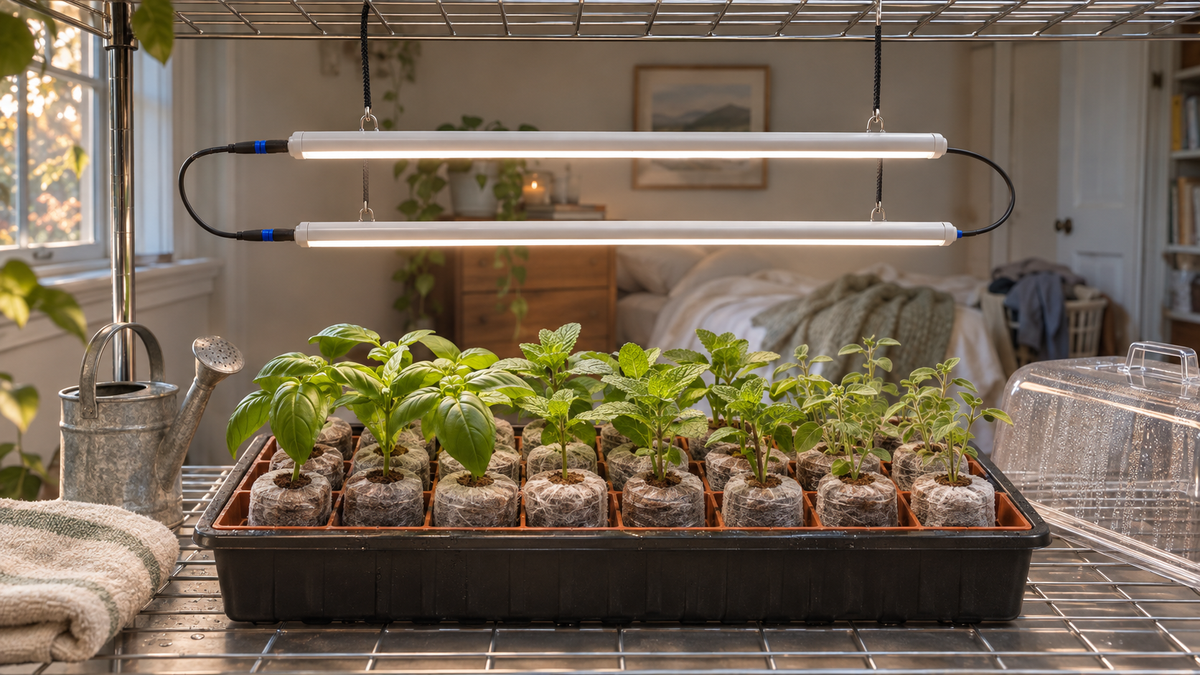
Settings for a happy cutting tray.
- 01A rootless cutting loses water through its leaves, so humid air counts as much as moist plugs.
- 02Gentle, even light works better than strong light for new cuttings.
- 03Leave room between the leaves and the dome so foliage does not sit against wet plastic.
- 04Vent the dome a little more each day once roots begin to form.
- 05Stagnant air invites mold, so some air movement is part of the routine.
Questions or notes? Drop them here.
A real grower replies within a business day.
No comments yet. Be the first.