
How to Build a Bucket Hydroponic System
A bucket hydroponic system is one container, one lid, and a few plants, which makes it one of the simplest ways to try soilless growing. Every part of it can be seen, measured, and adjusted, which makes it a good first build.
The idea is a reservoir of nutrient solution under a lid, with each plant held in a net pot so its roots reach down into the water. Everything else is detail.

Light in the reservoir encourages algae. The DWC lid below is black opaque plastic that blocks light from the reservoir, so pair it with an opaque bucket and keep the lid snug.
A marked container makes it easy to mix the right volume and to see how much the plants have used since your last check.
Roots in the water, or roots in the medium.
The two styles share a bucket and a lid and differ in how much of the root zone sits in the solution.
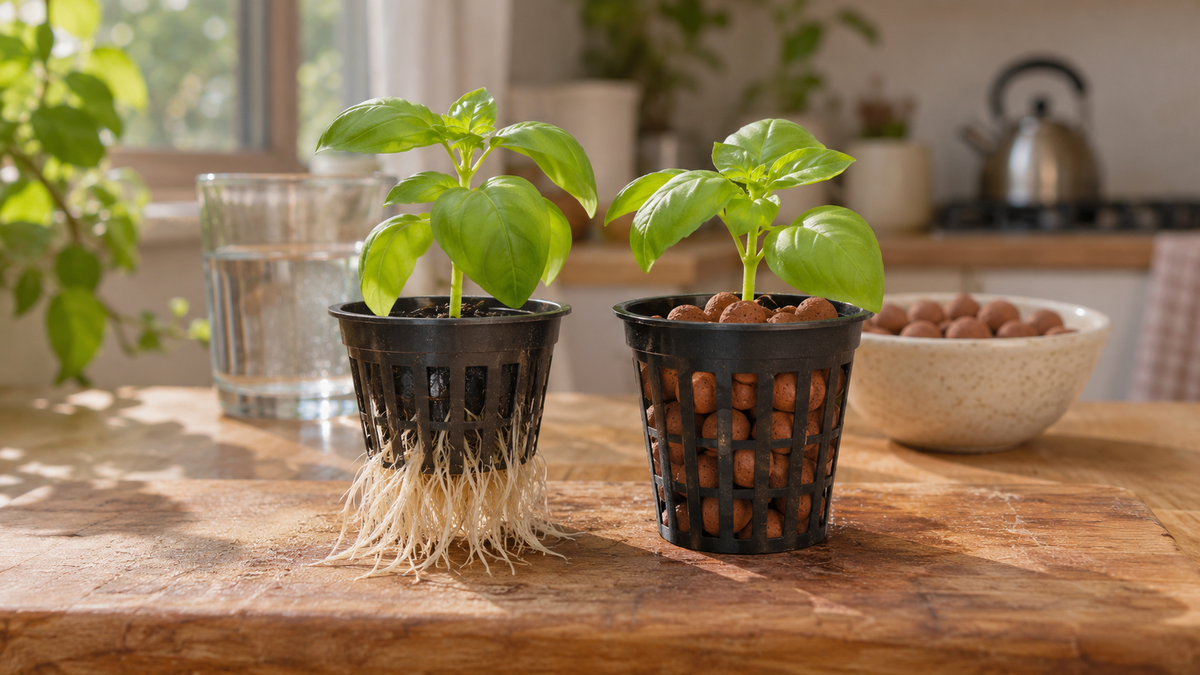
One bucket, six steps.
Gather the parts first, then build in this order.
Collect the bucket and the lid
You need an opaque bucket that has not held anything harmful, plus a lid with net pots. The DWC lid below has four built-in 3-inch net pots and fits 3.5 and 5 gallon buckets, so a 5 gallon bucket is a natural match.
Clean and fit everything
Wash the bucket and lid with plain water and rinse well. Set the lid on the bucket so the net pots hang just above the water, and use the wide lip to lift it off when you need to check the roots.
Add water and a measured nutrient mix
Fill to a marked line, then measure your hydroponic nutrient into the water at the label rate. Stir, and leave a gap between the water and the lid.
Fill the net pots and set the plants
Pack clay pebbles around the seedling or cutting so the lower roots can reach down toward the solution. We like the 2L bag for a first bucket, and you can fill one net pot or all four.
Test and adjust pH
Test the solution and adjust it toward the range your nutrient label gives, then recheck. The label for your product wins over any general number.
Check the bucket a few times a week
Check the water level, the roots, and the pH on each visit. Top up with plain water or a fresh mix, and replace the solution on the label schedule.

A heavy-duty deep water culture lid with four built-in 3-inch net pots, made to fit 3.5 and 5 gallon buckets. The black opaque plastic blocks light from the reservoir, and the wide lip makes it easy to place and remove.

A 5 gallon plastic bucket made in the USA, with a sturdy handle for carrying.
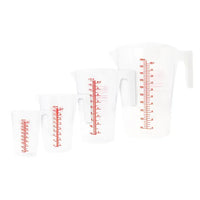
A food-grade, impact-resistant translucent cup marked in ounces and milliliters, with a conversion chart. It comes in four capacities, and it is useful for measuring water, nutrients, and fertilizers.
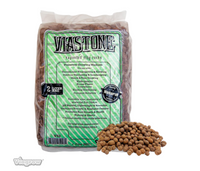
Lightweight, porous round pebbles made from natural clay. They improve drainage, aeration, and root oxygenation, with a neutral pH and an inert composition that will not interfere with nutrient solutions.
Build details to get right before planting.
A minute with the bucket in front of you covers all three.

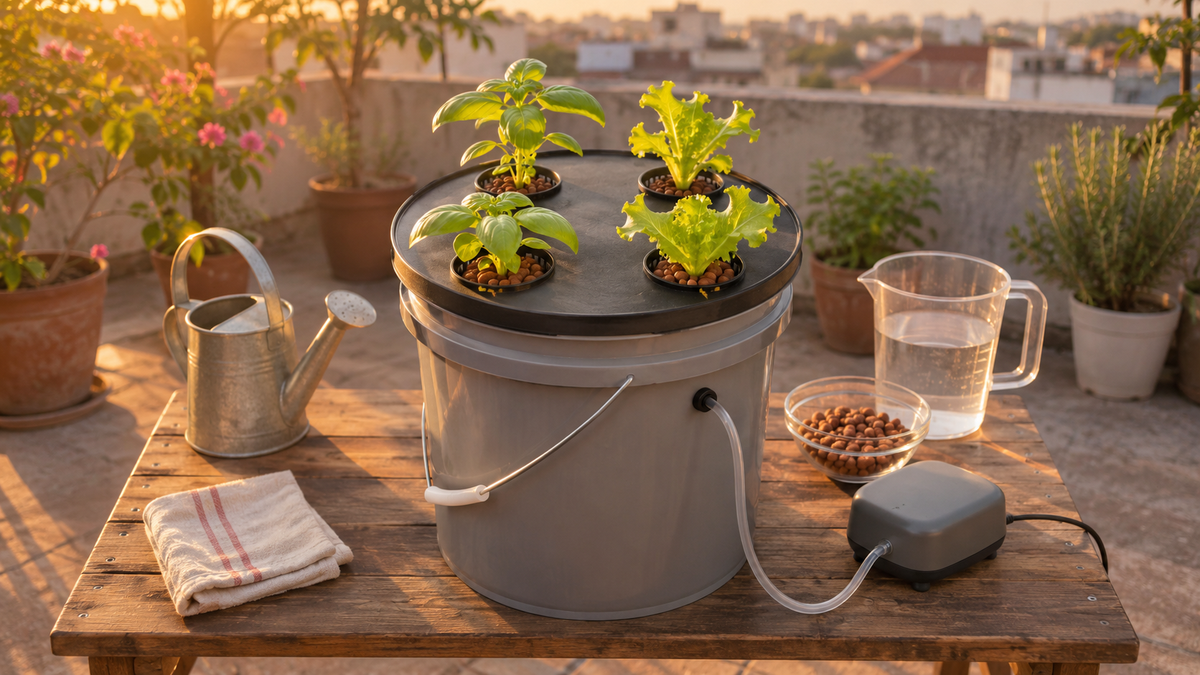
Keep these in mind while building.
- 01A bucket system is a reservoir, a lid with net pots, and your plants.
- 02Use an opaque, clean bucket so the solution stays dark and free of residue.
- 03Fill each net pot with a medium like clay pebbles and keep a gap above the water.
- 04Supply air to the solution with an air pump and air stone.
- 05Mark the water line, test pH, and follow your nutrient label for rate and schedule.
Questions or notes? Drop them here.
A real grower replies within a business day.
No comments yet. Be the first.