How to Set Up Drip Irrigation at Home
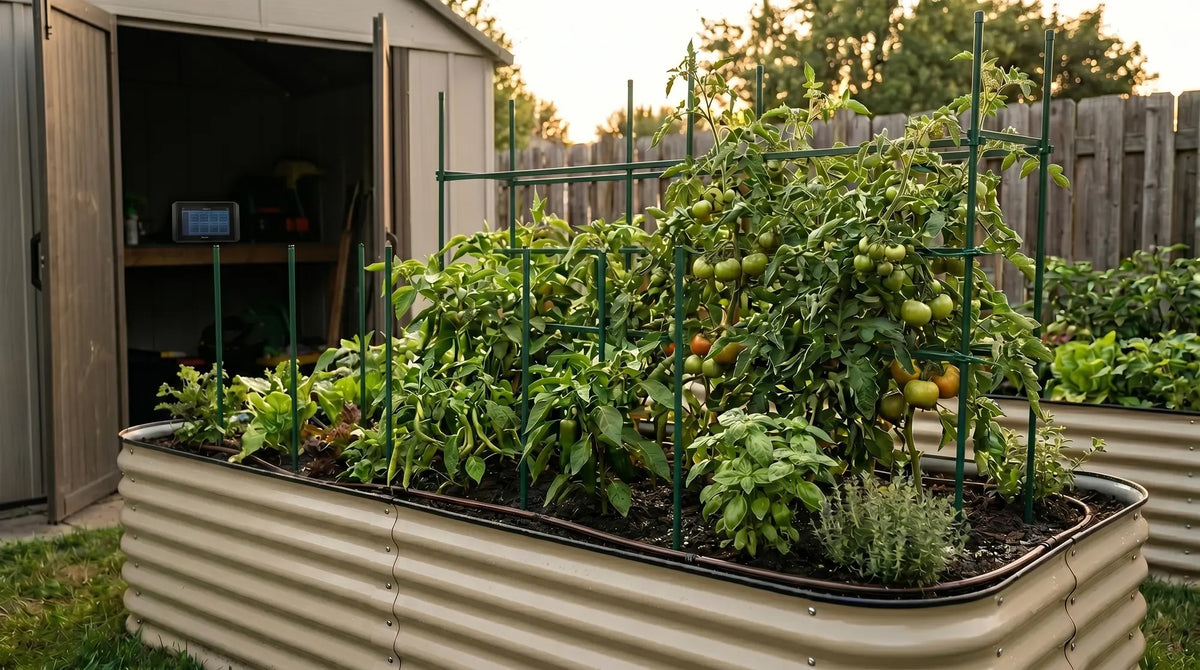
A drip system is one of the simplest upgrades a home garden can get, because it replaces the feast-and-famine rhythm of hand watering with a slow, steady supply that plants handle far better. The Harvest Company approaches a drip setup the same way whether the garden is a single container on a balcony or a row of raised beds in a backyard, because the parts and the sequence do not change with scale. A main line, a few barbed fittings, a dripper at each plant, and a timer are all it takes to keep the root zone consistently moist through the season.
Planning the layout on paper before cutting a single piece of tubing is the one step that saves the most time and the most wasted fittings.

Sketch the bed or container layout on paper before you buy any tubing, and measure the longest run from the tap to the farthest plant. That one number tells you how much main-line tubing to order and where the pressure will be lowest, so you can place the drippers that need the most flow close to the source.
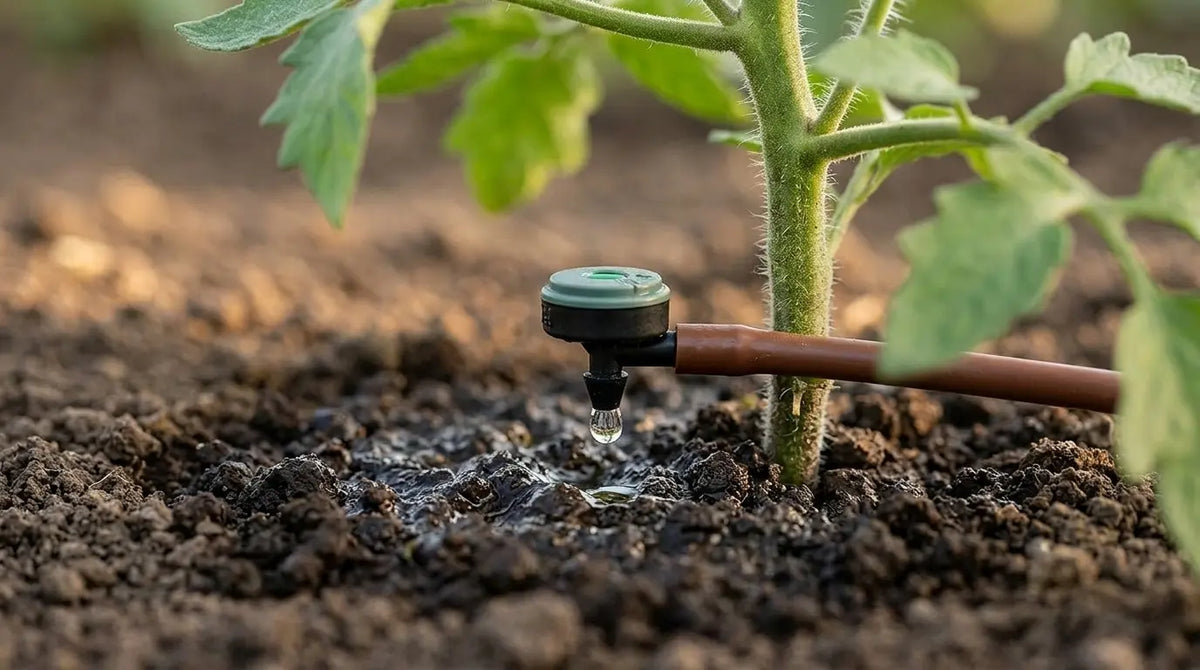
Hand watering tends to swing between a heavy soak and a dry spell, and those swings put plants under more stress than most growers realize. A drip system delivers a small, regular amount instead, which keeps the root zone in the moist range where uptake is easiest and growth stays steady.
From tap to dripper, in six steps.
Each step builds on the one before it, so working through them in order is the whole installation plan.
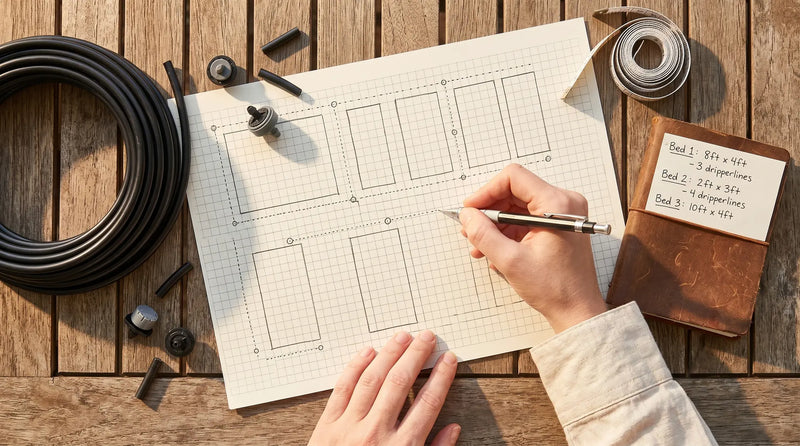
Plan the layout
Sketch the garden on paper and mark every plant that needs watering. Measure the distance from your tap to the farthest plant, note where rows branch off the main line, and count the total number of drippers you will need so your parts list is complete before you start.
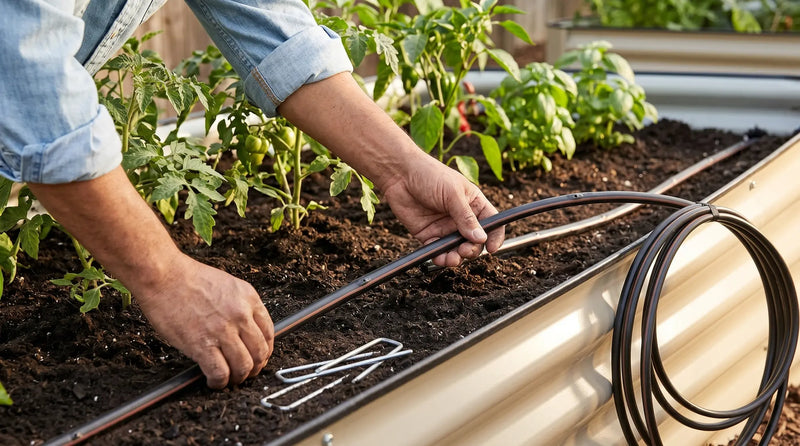
Lay the main tubing
Run the supply tubing from the water source along the length of the bed or container row, keeping it flat against the ground or the edge of the bed so it stays out of the way. Cut the tubing to length with a clean, straight cut so the barbed fittings seat fully and do not weep.
Shop garden tools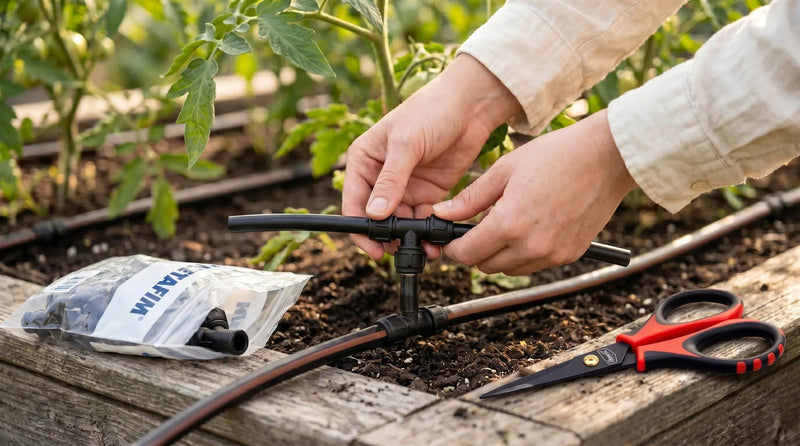
Branch with tees and elbows
At each point where a row of plants starts, push a barbed tee fitting into the main line to split the flow. Use elbow fittings to turn corners without kinking the tubing, and use end caps to close off any open line ends so the whole system holds pressure.
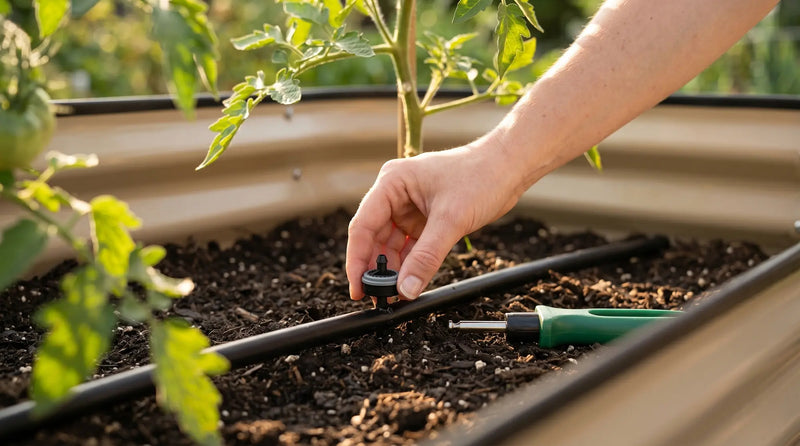
Place drippers at each plant
Push a dripper emitter directly into the tubing at the base of each plant, spacing them to sit within a few inches of the stem so water lands where the roots are concentrated. For containers, one dripper per pot is usually enough for most herbs and vegetables.
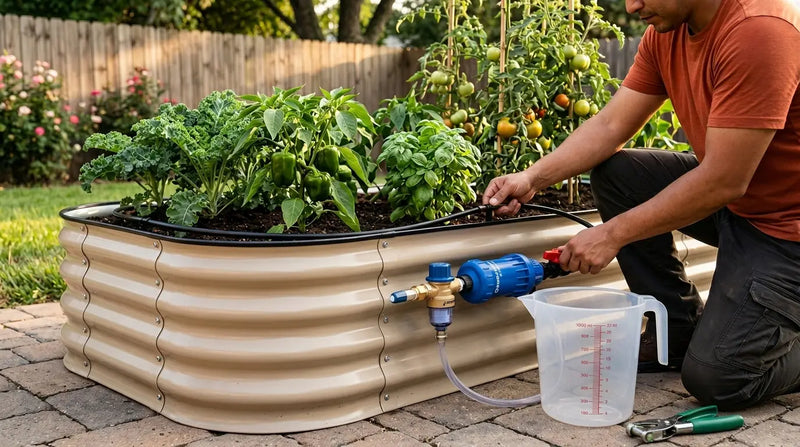
Add a shut-off valve
Fit a simple inline shut-off valve between the tap and the start of the main line so you can pause or service the system at any time without turning off the whole water supply. A single-lever ball valve works well and costs very little for the convenience it adds.
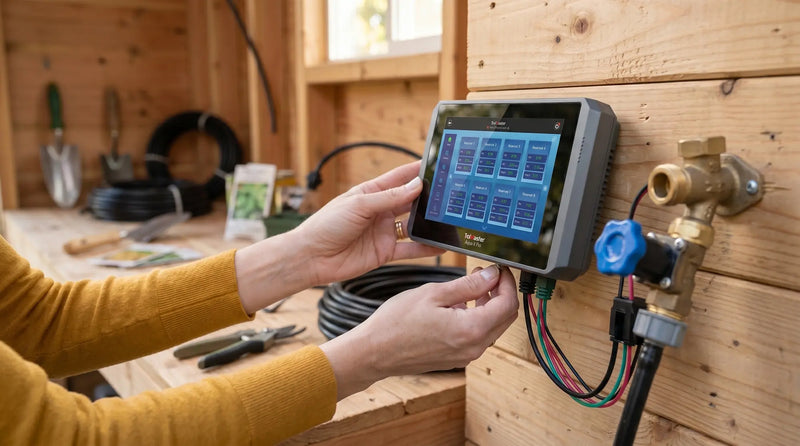
Put it on a timer
Connect a mechanical or digital hose timer between the tap and the shut-off valve so the system runs on the same schedule every day without any manual effort. A short daily run in the early morning keeps the root zone consistently moist and lets the surface dry a little during the day, which reduces the chance of surface mold on containers.
Three habits behind a leaky or dry-spot setup.
Each is a setup detail, easy to get right at the start.

Five things to remember.
- 01Sketch the layout and measure every run before buying parts so the tubing and fittings match the actual garden.
- 02A barbed tee fitting pushed into the main line is all it takes to branch the system to a new row of plants.
- 03Cap every open line end before running the system so pressure stays consistent across all the drippers.
- 04A shut-off valve between the tap and the main line lets you pause or service the system without disrupting the water supply.
- 05A short daily run on a timer keeps the root zone in the moist range where uptake is easiest, without the swings that stress plants.
Questions or notes? Drop them here.
A real grower replies within a business day.
No comments yet. Be the first.